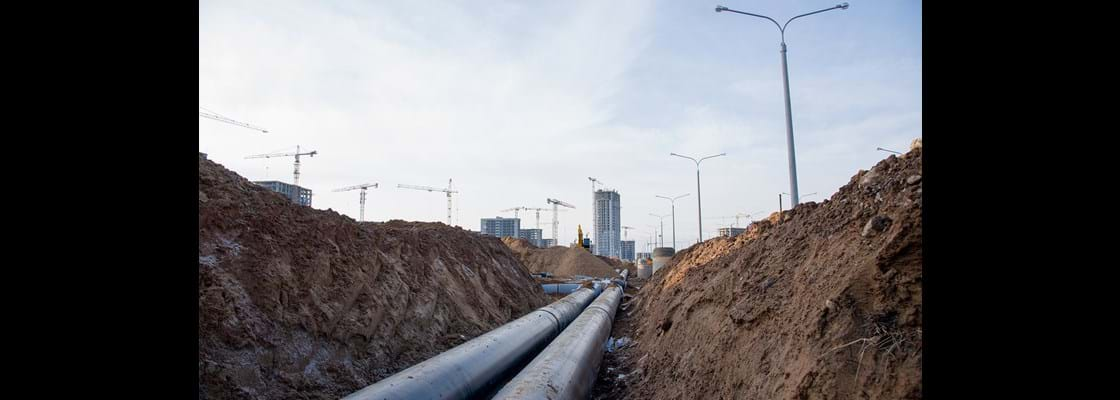
Currently, ovality tests used to check for deformed pipe are performed with a gauge. If the gauge won’t pass, it’s a sign that deformation exceeds accepted limits. But that’s all the test reveals. There’s no way of knowing the percentage of ovality or determining whether the issue is with the entire pipe or just a particular segment. And if the gauge does pass, it doesn’t necessarily mean that ovalization hasn’t begun, only that the gauge can’t detect it…
Plastic pipes are increasingly popular today because they are less expensive than their concrete and steel counterparts. However, plastic is more susceptible to deformation. Plastic pipes are lighter and easier to handle, but must be carefully installed to ensure problems don’t arise down the line. Excess weight on a plastic pipe can result in ovalization in the short to mid term, and even lead to breakage. And replacing a pipe due to premature ovalization or fissuring can be extremely costly for municipalities, engineering firms, and contractors.
Bureau de la normalisation du Québec (BNQ), the Quebec government standards agency, has published an installation standard for water and sewer pipes (BNQ 1809-300), which will soon be adopted elsewhere. The specifications of the standard set the maximum allowable deformation at 5% after construction, and 7.5% after one year.
Slope also has an impact on the proper functioning of gravity pipes. For sewer pipes, a minimum installed slope of at least 1% is generally recommended to ensure proper flow. That’s why it’s essential to have the right tools to measure and rectify slope.
INO’s laser profilometer gives you fast answers to all of your questions. This laser technology generates a digital twin of the pipe interior during inspection. Within minutes, you’ll know the location of even the smallest defects, including fissures and corrosion, and obtain precise measurements of pipe geometry (diameter, ovality, connections). Our technology also provides you with slope percentages and geolocation, ensuring you have all the data you need to prevent blockages.
INO technology saves you time and money by quickly supplying you with a clear picture of the condition of your pipe and any repairs or replacements that may be required. Data is processed by our vision and analysis software to provide precise and accurate information on pipe slope, ovality, and joint condition and ensure that there are no sags or inversions.
Feel free to contact me if you have any questions, want to schedule a field trial of the INO laser profilometer, or wish to work with our team to develop more precise and reliable inspection tools adapted to your needs. Take advantage of our extensive range of services. No project or challenge is too complex for INO!


